How to Bake Artisanal Sourdough Bread at Home
This article was guest-written by Dan Weecks, John’s son who produced the video above.
As more people spend time at home and get interested in home cooking, baking bread has become a popular quarantine activity. There’s something therapeutic and rewarding about kneading dough and pulling a fresh-baked loaf from the oven. Sourdough bread in particular has seen a resurgence, with its complex flavor and health benefits.
In this post, I’ll walk through my dad’s tried-and-true method for baking delicious artisanal sourdough bread at home, even for beginners. He became obsessed with perfecting his technique over the pandemic and now bakes several loaves a week for our family. I recently convinced him to let me film him demonstrating his entire start-to-finish process so I could share it here.
Ingredients
– 900g bread flour
– 20g salt
– 240g active sourdough starter
– 700g water
Step 1 – Mix the Dough
First, we’ll mix together all the ingredients for the dough:
– Combine 900g bread flour and 20g salt in a large mixing bowl. Use a whisk to incorporate.
– In a separate bowl, add your 240g active sourdough starter and 700g lukewarm water. Mix to combine.
– Create a well in the center of the flour and gradually pour in the sourdough starter mixture while mixing with a wooden spoon.
– Once combined, turn out the shaggy dough onto a clean surface and knead briefly until uniform.
– Place the dough back in the bowl, cover with plastic wrap or a damp towel, and let rest at room temperature for 3 hours.
Step 2 – Knead and Fold the Dough
After the first 3 hour rest, the dough needs to be kneaded and folded:
– Use a dough scraper to lift and fold the dough over itself in the bowl to strengthen gluten.
– Repeat this knead and fold process every 45 minutes for the next 2-3 hours.
– Cover the bowl with plastic wrap or a damp towel in between folds to prevent drying out.
Step 3 – Divide and Proof the Dough
Once the dough has had its final fold, it’s ready to be divided and proofed:
– Lightly flour a work surface and turn out the dough. Use a bench scraper to divide it into 2 equal pieces.
– Gently shape each piece into a round loaf.
– Place each loaf seam-side down onto a square of parchment paper.
– Lightly flour the tops, then cover and let proof at room temperature until doubled in size, 1-2 hours.
Step 4 – Score and Bake the Loaves
After proofing, it’s finally time to bake!
– During the last 15 minutes of proofing, preheat oven to 440°F with a dutch oven inside.
– When the dough has fully proofed, gently invert one loaf into the preheated dutch oven.
– Score the top with your desired pattern using a lame or very sharp knife.
– Cover and bake for 30 minutes.
– Remove lid and bake 15 minutes more until deep golden brown.
– Repeat with the second loaf.
– Allow to cool completely before slicing for best texture.
Step 5 – Enjoy Fresh Sourdough Bread!
That’s it! Follow this process and you’ll have two gorgeous, crusty sourdough boules. The long fermentation gives the bread its signature tangy flavor and open crumb structure. Slicing into a still-warm loaf is one of life’s great pleasures.
Sourdough bread also keeps incredibly well. Store leftovers in a paper or cloth bag at room temperature for 3-4 days. The sturdy crust prevents drying out and the flavor improves. Enjoy this wholesome, homemade bread on its own or use for sandwiches, toast, croutons, and more.
Baker’s Tips
Here are some handy tips from my dad to troubleshoot your sourdough baking:
Starter tips
Use filtered or bottled water. Keep starter at room temp, feed equal parts flour & water 1-2x per day. Discard half before feeding. Signs it’s ready: bubbles, rises & falls, tangy smell.
Kneading tips
Add flour as needed to prevent sticking. Lightly oil hands and bowl. Scrape down sides. Dough will be tacky and stringy when ready.
Proofing tips
Dough is ready when pillowy soft and holds an indentation when poked. Proof in a warm, draft-free spot.
Baking tips
Score 1⁄4-1⁄2” deep in quick, decisive cuts. If dough resists shaping, let rest 20 mins. For best oven spring, use a dutch oven.
Storage tips
Let cool completely before storing. Bread keeps best at room temp, not fridge. Freeze extras. Revive stale loaves by sprinkling with water and baking 5-10 mins.
Flavoring Your Sourdough
The basic sourdough recipe can be endlessly customized with different flours, seeds, nuts, fruits, and more kneaded into the dough or topping the loaf.
Some of my favorite add-in combinations:
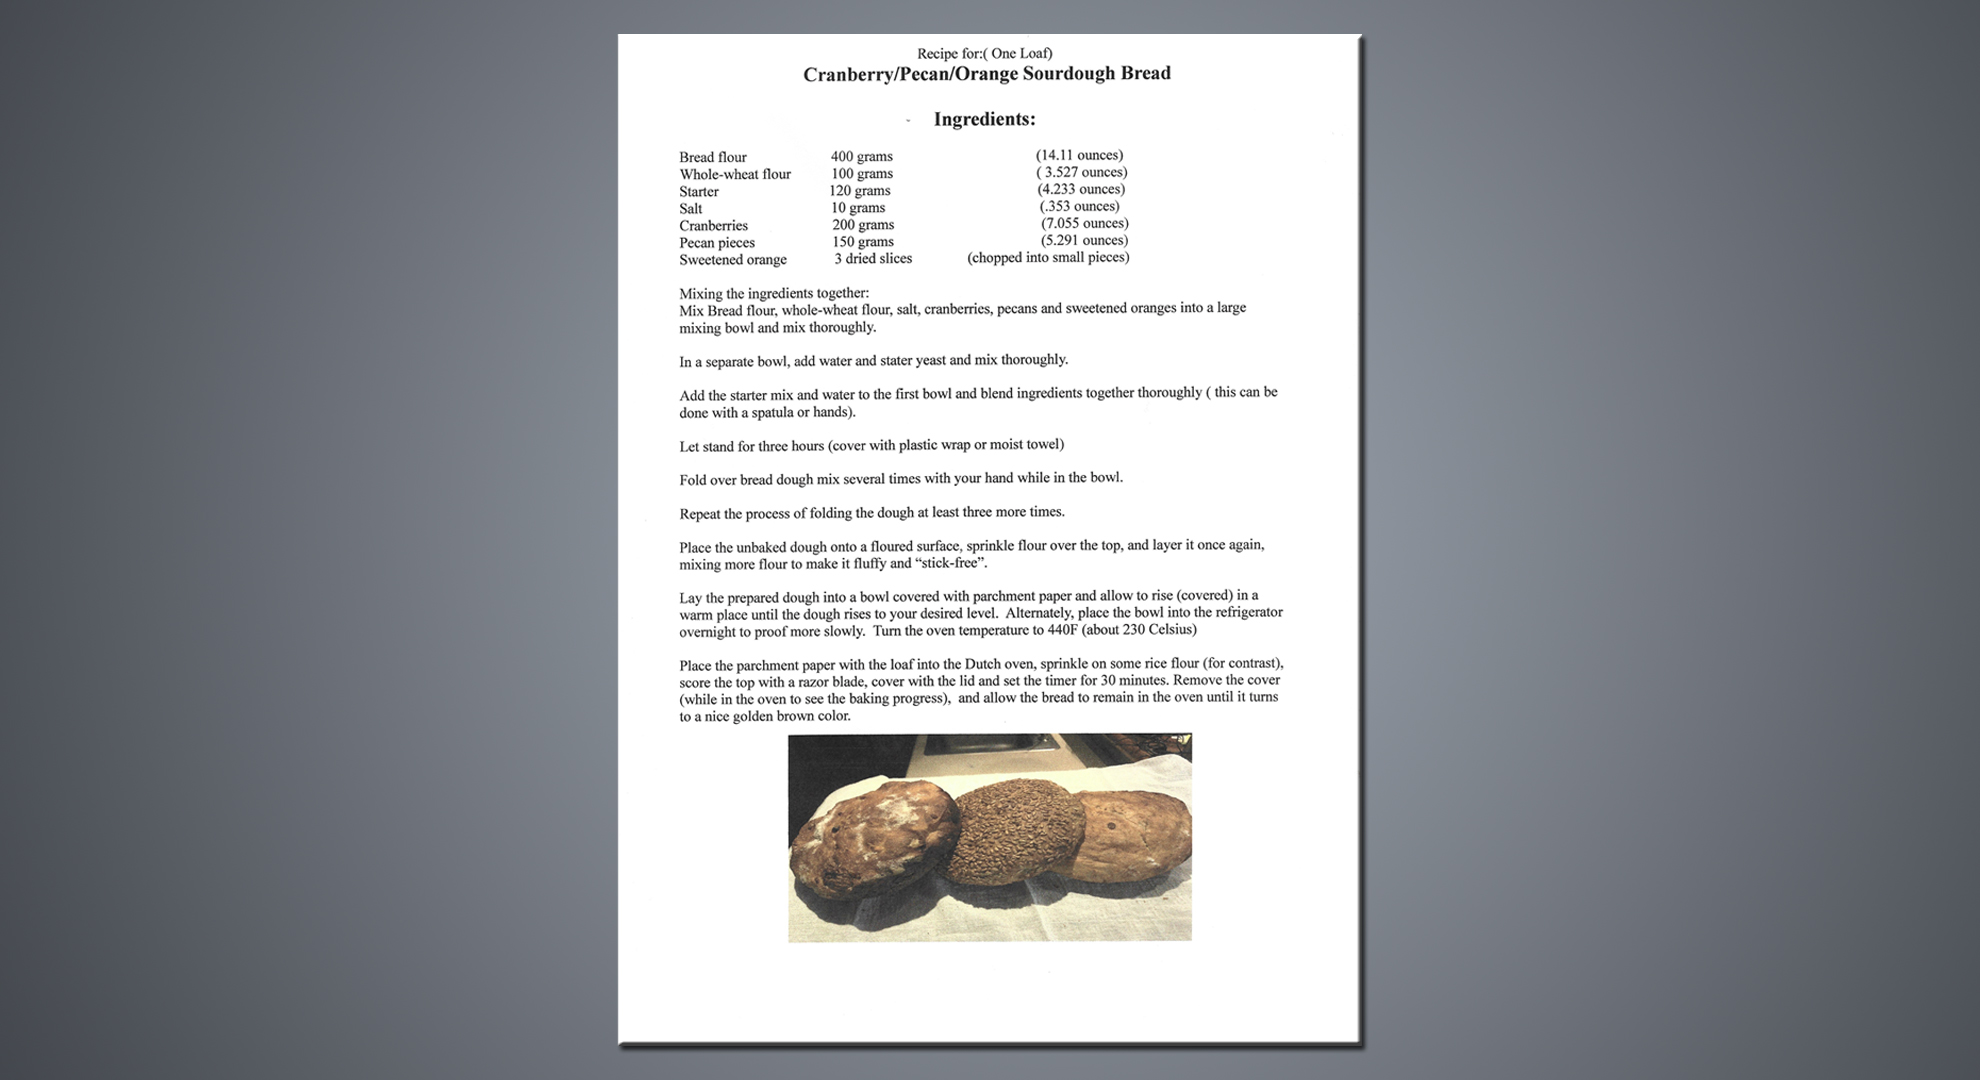
– Dried cranberries and orange zest
– Toasted walnuts and cinnamon
– Olives and roasted garlic
– Diced apples and raisins
– Sunflower and pumpkin seeds
– Fresh herbs like rosemary, thyme, or oregano
The only limit is your imagination – have fun and get creative! Sourdough is a hands-on process that teaches patience and rewards your time and care with delicious, wholesome loaves.